
If you want to store food, seeds, or emergency supplies so they last, learning How to Seal Mylar Bags matters. This guide shows clear, practical methods you can use at home. See tools, step-by-step actions, and common problems so you can seal bags that keep air and moisture out for years. Custom printed Mylar bags block light, oxygen, and moisture. A poor seal lets air in and defeats the bag’s purpose.
How to Seal Mylar Bags Like a Pro: The Ultimate Step-by-Step Guide
Method 1 — Impulse heat sealer (best overall)
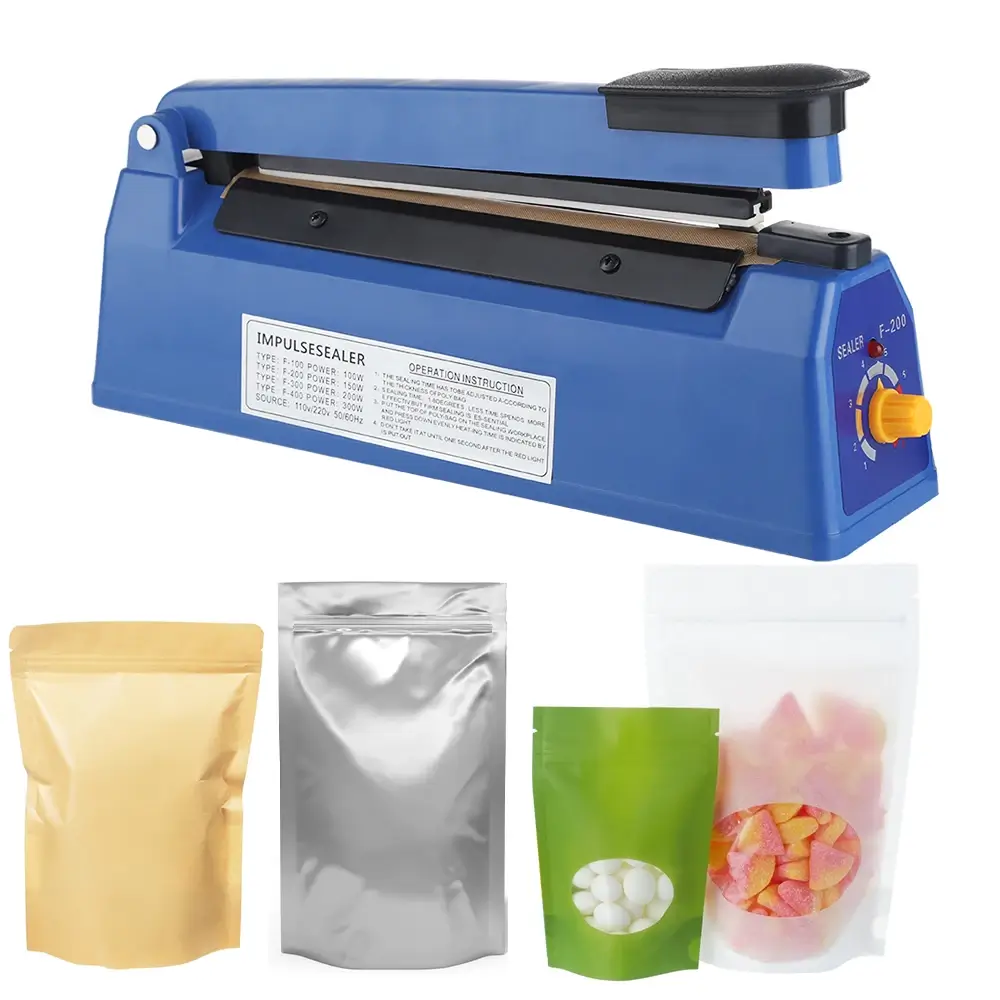
An impulse sealer melts the film cleanly and evenly. This method gives a strong, long-lasting seal.
Steps to Follow:
- Fill the bag leaving 2–3 inches at the top.
- Before sealing, if necessary, insert the oxygen absorber.
- Level the top to ensure uniform edge meeting.
- Set the sealer to the proper temperature for the mylar thickness.
- Press the sealer bar down for one steady second longer than the machine’s default.
- Wait 5 to 10 seconds before softly pulling to test the seal.
Tips:
- Do one test seal on scrap material first.
- If you see gaps, reheat and press again.
- Label the bag with the date and contents.
This method answers the frequent query best way to seal mylar bags for long term food storage by giving the most reliable, repeatable seal.
Method 2 — Vacuum sealer with heat strip
Air is sucked out by a vacuum sealer, after which it heat-seals the bag. Utilise a vacuum machine featuring a heat bar suitable for Mylar.
What to Do:
- Fill the bag and insert an oxygen absorber if storing long-term.
- Place the open bag edge on the vacuum bar, ensuring the bag sits flat.
- Start the vacuum process and let it remove most of the air to seal Vacuum Sealed Mylar Bags
- Allow the machine to seal; if your model needs manual heat, clamp a sealer bar for 2–3 seconds.
- Inspect and repeat if needed.
Benefits:
- Removes more air than hand sealing.
- Good for preserving freeze-dried and dehydrated foods.
Use this when you want both air removal and a sealed finish—search terms like vacuum sealing mylar bags for emergency food match this approach.
Method 3 — Clothes iron (budget method)
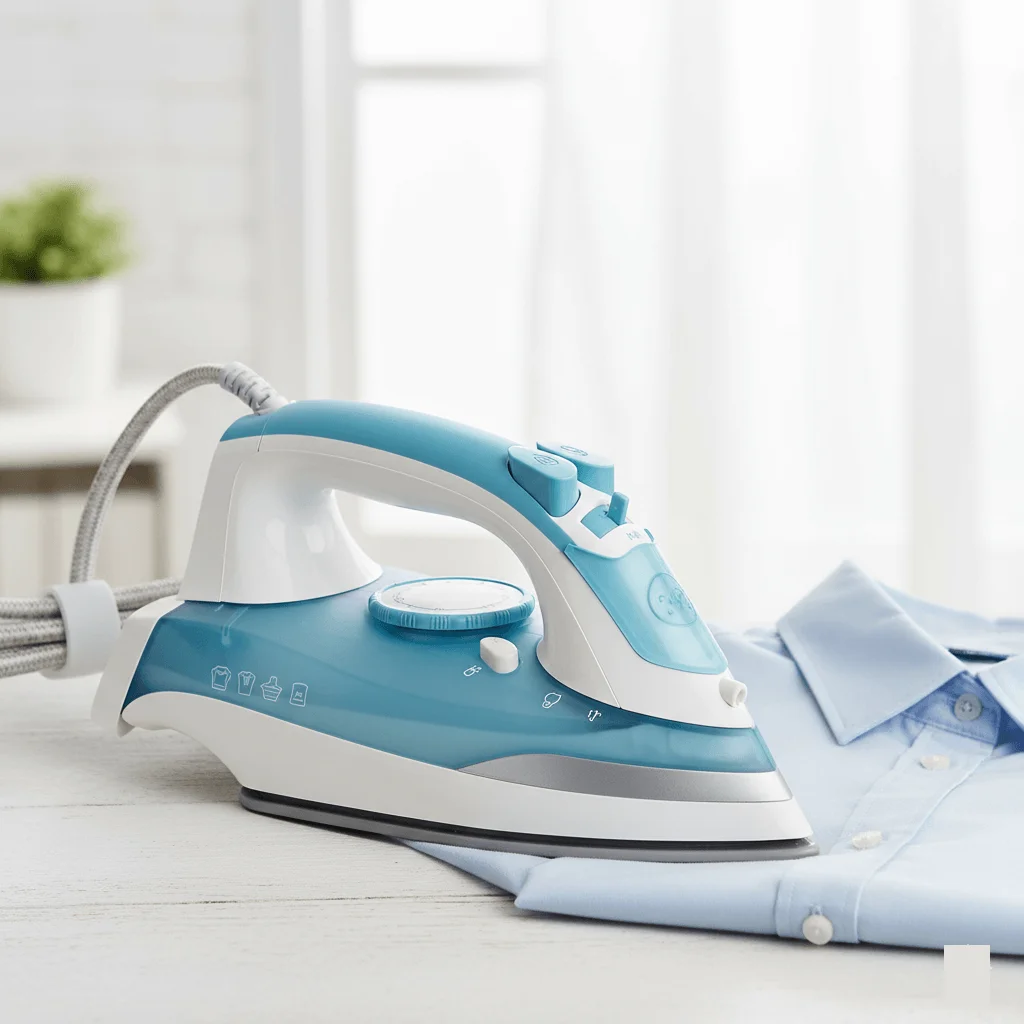
A clothes iron works when you do a few bags and you don’t have a sealer.
How it Works:
- Set iron to a medium-high (no steam) setting.
- Fold a clean piece of cloth over the top of the Mylar to protect it.
- Press the iron firmly along the top edge for 3–6 seconds.
- Let cool and test the seal.
Pros and cons:
- Cheap and accessible; not as consistent as impulse sealer.
- Avoid melting the bag; always test on scrap first.
This method helps beginners who search how to seal mylar bags without a sealer or temporary mylar bag seal methods.
Method 4 — Hair straightener (small jobs)
A hair straightener gives precise heat for narrow seals on small sample bags.
Steps:
- Clamp the bag edge between the straightener plates for 4–6 seconds.
- Move slowly along the edge for longer bags.
- Let the seal cool and inspect.
Use this when you only need a few small seals and you want a neat, local join.
Method 5 — Hand sealer tool
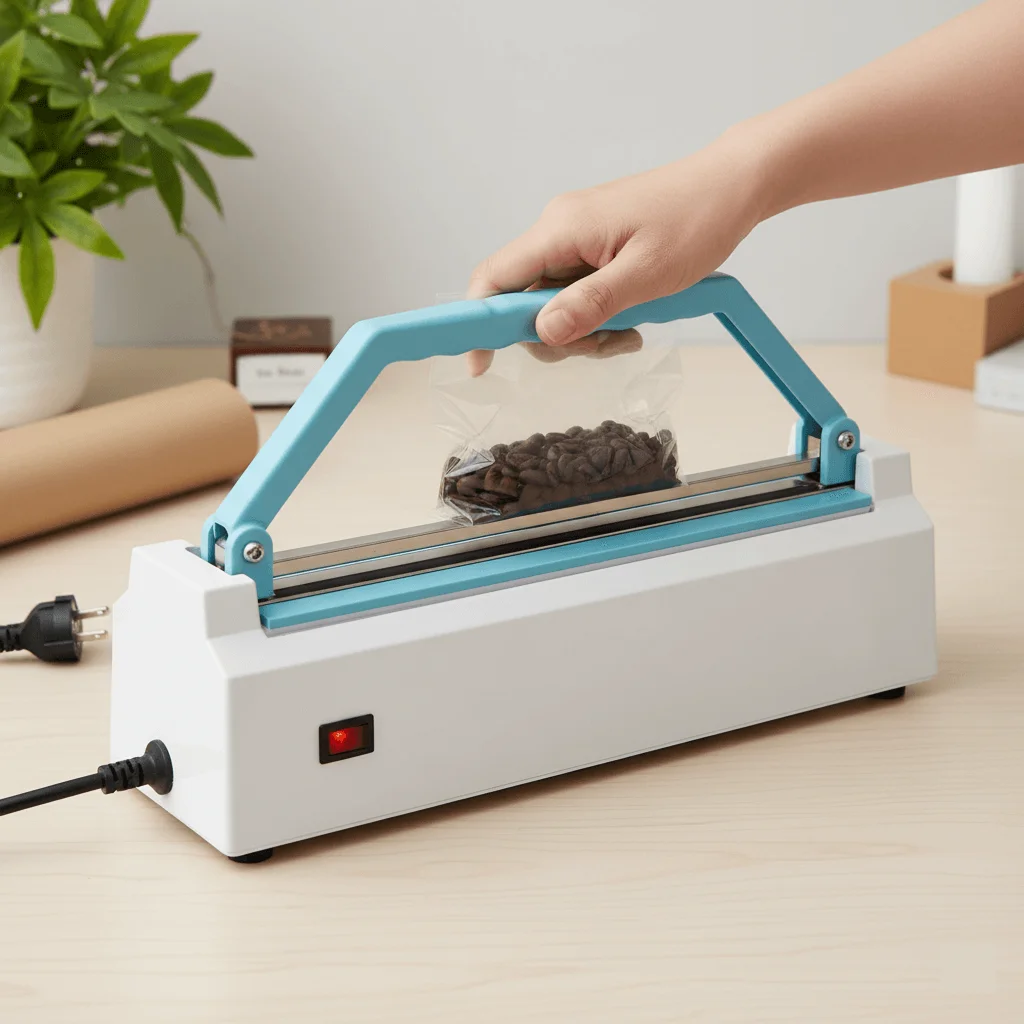
A manual hand sealer uses a heated strip you press along the film.
Steps:
- Set the temperature based on manufacturer instructions.
- Align the bag and press the sealer for the recommended time.
- Hold steady, then test the joint.
This tool sits between an iron and an impulse sealer in cost and performance. It answers searches like portable mylar bag sealer for camping.
Method 6 — Double fold and tape + iron (backup)
When you worry about a leak, reinforce the seal.
Steps:
- Make a heat seal or iron seal first.
- Fold the top over once or twice.
- Tape the fold with food-safe tape.
- Iron the fold to help it conform and set.
This adds a physical barrier and suits how to seal Custom Mylar Bags With Window for long term storage with extra protection.
Method 7 — Hot glue gun (temporary only)
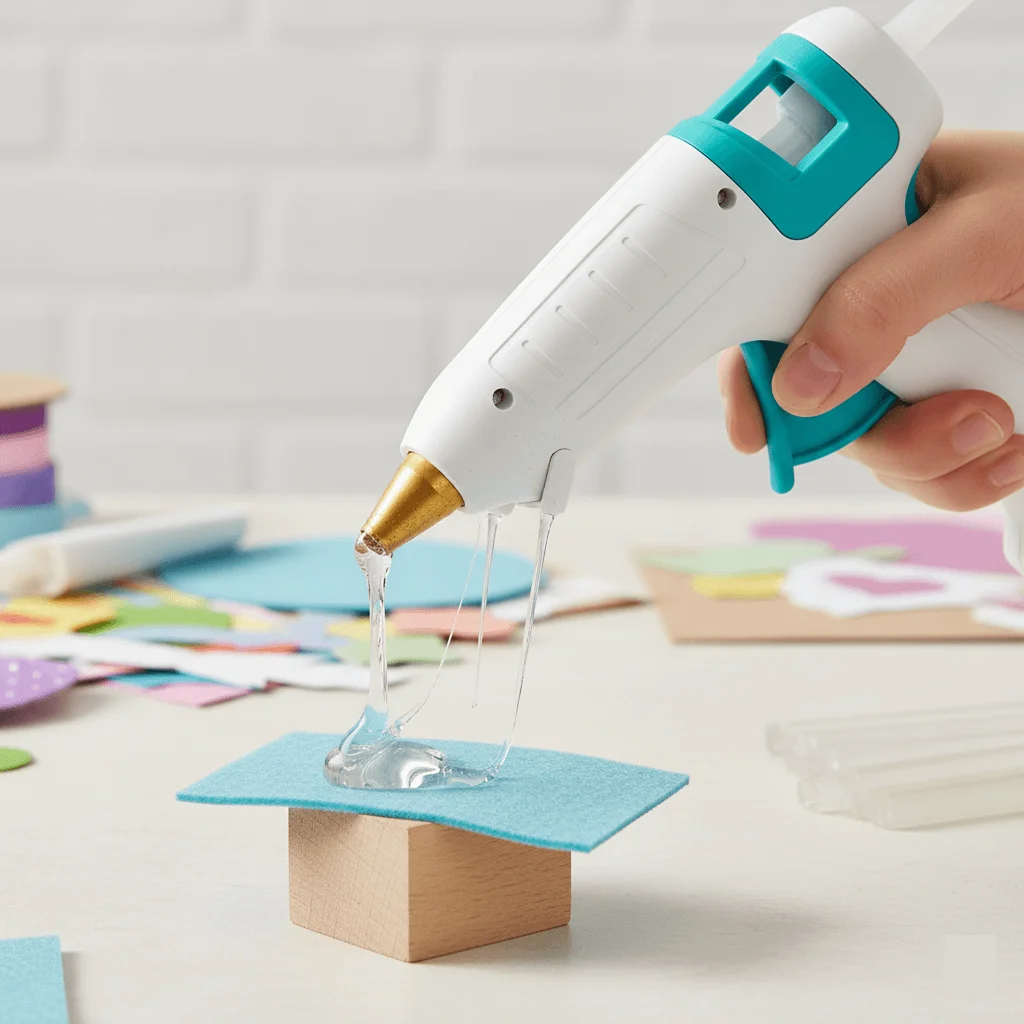
Using a hot glue gun will seal a bag.
Steps:
- Run a thin bead of hot glue along the top edge.
- Press the seal and let cool.
- Do not use it for food unless the glue is certified food-safe.
Use this only for craft or non-food storage.
Method 8 — Heat shrink sealing (snack packs)
For snack-sized items, heat shrink can create a tight finish.
Steps:
- Place the filled bag into a shrink sleeve.
- Apply heat evenly using a heat gun at a safe distance.
- Sleeve will shrink and form a sealed wrap.
This method suits retail-style packaging and small-batch snacks.
Method 9 — Industrial impulse sealer for large batches
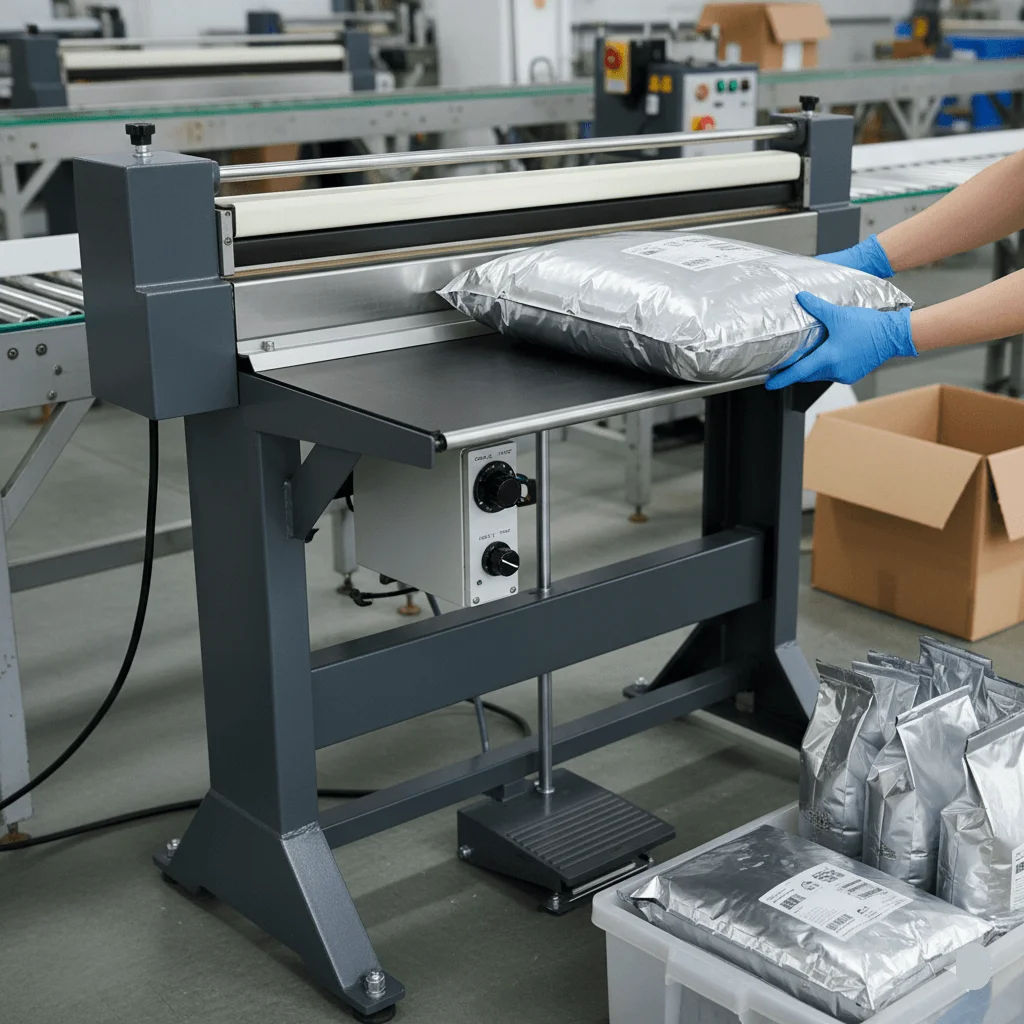
If you store bulk supplies, invest in an industrial impulse sealer.
Steps:
- Feed bag mouths into the machine.
- Configure seal width and temperature for heavy film.
- Run steady; the machine seals quickly and uniformly.
This suits people who ask about commercial mylar bag sealing for retailers.

Materials and tools you will need
- Bags made of mylar (the thickness varies based on how they will be used; 5–7 mil is usual for storing food for a long time)
- Impulse heat sealer or vacuum sealer with heat bar
- Clothes iron or hair straightener (for small jobs)
- Oxygen absorbers sized for bag volume
- Optional for moisture control: food-grade desiccant packets
- Fill bags precisely using a funnel or scoop.
- Labeling with permanent marker
- Tape and scissors for the final touches
Use these tools as appropriate. Pair a heat seal with an oxygen absorber for better results.
Practical tips to avoid leaks
- Before sealing, always allow at least 2 inches of headspace.
- Get your bag thickness right with the proper temperature.
- Let the seals completely cool before testing.
- To get rid of leftover oxygen, utilize oxygen absorbers fit for bag volume.
- Keep closed bags out of rodents' reach in a cold, dark area.
Packing checklist
- Label bag with date and contents
- Insert oxygen absorber and desiccant if needed
- Remove large air pockets before sealing
Sealing checklist
- Use the right tool for the bag size
- Smooth wrinkles at the seal line
- Wait for the seal to cool and test for leaks
Storage checklist
- Keep in a dark, dry location.
- Keep off concrete floors to prevent moisture transfer
- First-in, first-out stock rotation
Common mistakes and how to fix them
- Sealing with wrinkles. Fix: Smooth before heat and press again.
- Wrong temperature. Fix: Test on scrap and adjust heat incrementally.
- Not using oxygen absorbers for long-term stores. Fix: Add the correct size and seal immediately.
- Sealing while the bag is hot or under tension. Fix: Let the seal cool and avoid stretching the bag after sealing.
How to test a finished seal
- Visual inspection for even seam and no gaps.
- Gently press above the seal—air should not escape.
- Submerge sealed bags in water and look for bubbles (do not submerge if oxygen absorbers inside might be affected).
- Place the bag under a light—light should not penetrate the seam.
- Weigh and compare to a sample to detect slow leaks.
How long will sealed Mylar bags last?
Many dry foods kept at steady cold temperatures with a good heat seal and an oxygen absorber last 10–30 years. Real-world existence depends on the product, storage temperature, and how well you sealed the bag. For short-term use or frequent access, use resealable Mylar liners or jars instead.
Final checks before long-term storage
- Confirm the seal is smooth and consistent.
- Ensure the oxygen absorber shows no swelling (if visible through outer packing).
- Date the bag and note contents plainly.
- Store away from heat sources and pests.
How to Seal Mylar Bags | Try These Ideas Today
Now that you know How to Seal Mylar Bags, pick one method and practice on scrap material. Begin with a little batch and one good sealer. If you keep food long-term, match your seal with suitable oxygen absorbers. Try sealing three bags today and inspect each one. If you need assistance, call Mylar Bass Packaging experts from the Packaging Company and grow your brand now!
FAQs
How to seal Mylar bags without a sealer?
- Fill, add oxygen absorber, leave ~1/2" headspace, remove excess air.
- Hair straightener: clamp top 3–6s for seal.
- Iron + parchment: press medium heat 3–6s.
- Heated spoon/pot rim: press heated metal to melt seal.
- Lighter/candle (last resort): quick pass of flame; avoid holes.
- Double-seal and test for leaks.
What is the best way to seal Mylar bags?
Use an impulse heat sealer for the cleanest, most reliable seal. Test temperature on scrap first.
Can I use a clothes iron to seal them?
Yes. Set to medium-high, no steam. Protect the film with a cloth and press evenly.
Do I need oxygen absorbers with these bags?
Yes! for long-term food storage. Choose the correct absorber size for the bag volume.
- Determine bag volume
- Match absorber capacity
- Place absorber before sealing
- Seal immediately after inserting
- Label the bag with absorber use
- Store in a cool place
How long after sealing can I open them?
Opening them whenever is acceptable; however, once opened, contact with air lowers shelf life. Open just when necessary for long-term storage.
How do I vacuum seal a Mylar bag?
- Use a vacuum sealer (with heat strip) or a pump sealer
- Take out all the air from the bag
- Seal the top with heat
What temperature do I need to seal them?
Temperature varies by tool and film thickness; test on scrap. Use low-to-medium heat on household irons; follow sealer specs for impulse devices.
- Test scrap first
- Increase heat slowly
- Avoid melting the film
- Keep consistent pressure
- Let joint cool
- Inspect before storing
Will a hair straightener work to seal them?
Yes, for small bags. Clamp the edge a few seconds at a time and move slowly for longer seals.
How much headspace do I leave before sealing?
- Leave 2–3 inches (5–8 cm) of space at the top
- Allows easy insertion of oxygen absorbers
- Ensures a tidy, secure seal
Can I reseal a bag if the seal fails?
Yes. Cut open above the failed seam, refill or adjust, then reseal using heat methods. Test the new seam.
Are Mylar bags truly moisture-proof?
- They provide an excellent moisture barrier
- Mylar film blocks light very well
- It also stops moisture from getting in
- Works best when sealed tightly
- Needs dry conditions to stay effective
How do I store sealed bags long-term?
Store bags in dark, dry, cool spots. Extra rodent control is possible with plastic tubs or metal cans.
- Choose stable temperature
- Avoid direct sunlight
- Use insect-proof containers
- Raise off concrete floors
- Rotate stock by date
- Check seals periodically
Can I use a hot glue gun on Mylar bags for food?
No for food-grade use. Hot glue can contaminate food and lacks the consistent barrier heat sealing gives.