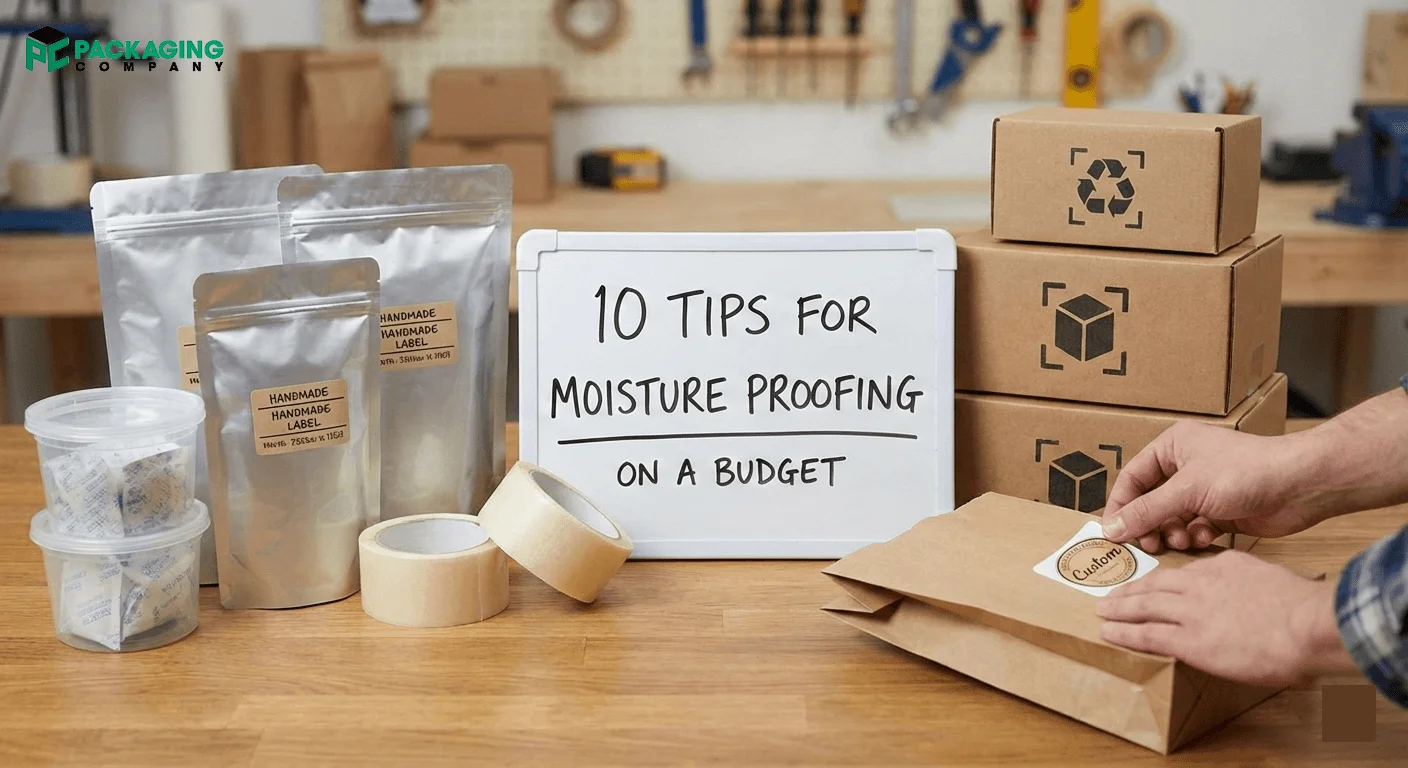
Moisture Proof Packaging matters when damp air, rain, or wet storage can ruin products and cost you money. Many small brands face returns and damage when shipments meet humidity. The U.S. market shows strong demand for moisture control, so you can protect goods and cut losses with low-cost fixes.
Expert Tips for Customizing Moisture Proof Packaging on a Budget
This guide gives ten clear tips you can use right away to customize Moisture Proof Packaging wholesale without big spending.
1. Choose the right barrier film for the product
Pick a film that matches how much moisture risk your product faces and how long it will travel. Metallized film blocks water vapor well and suits sensitive electronics, while polyethylene gives good protection at a low price and fits many food items. Ask suppliers for WVTR numbers and compare them to your needs so you avoid overpaying for features you do not need.
Use small sample runs to check real performance in your climate and shipping routes. Use the best films for moisture proof food packaging when you pack snacks or dried goods, and use cardboard packaging with an inner barrier for retail appeal and protection. Balance cost and barrier level to keep goods safe and your budget intact.
- Electronics: metallized film or foil; aim for low WVTR.
- Food: multi-layer PE or laminated films; shelf life can improve by 20–50 percent.
- Dry goods: coated kraft or moisture-resistant corrugated boxes work well.
2. Use desiccants and humidity indicators inside packages
Add small Custom Box Inserts to control moisture inside the package and to show if a shipment saw high humidity. Desiccants soak up water and humidity indicator cards show exposure during transit. These items cost little and give strong protection for fragile goods. Match desiccant grams to package volume using a simple rule like 1–3 g per liter.
Use inexpensive desiccant pack techniques for short runs and put the desiccants in a sealed inner pouch for long trips. Employ humidity indicator cards in critical shipments to identify routes that require redesign.
- Silica gel: absorbs up to 40% of its weight; cost $0.01–$0.10 per pack.
- Clay desiccant: cheaper; absorbs 15–25% of its weight.
- Use 1–3 g per liter of internal space as a rule of thumb.
3. Seal edges and seams with low-cost heat or tape methods
A weak seam allows moisture in, promoting damage. Upgrade seals without having to purchase expensive machines through the help of hand sealers or waterproof tape. Hand impulse sealers (which range from $100 to $400) also seal pouches in seconds, and bench sealers ($500 to $2,000) are better suited for higher volumes.
Roughly, you can expect to pay $0.01–$0.05 per inch of width for waterproof tape — stick to corners and repairs. Examine a test batch of sealed units with an inexpensive water spray as an early leak detector. Use how to seal pouches against humidity practices to train staff and keep quality steady. Strong seals stop moisture and lower returns.
- Hand impulse sealers: $100–$400.
- Bench sealers: $500–$2,000.
- Waterproof tape: $0.01–$0.05 per inch.
4. Design for drainage and airflow when needed
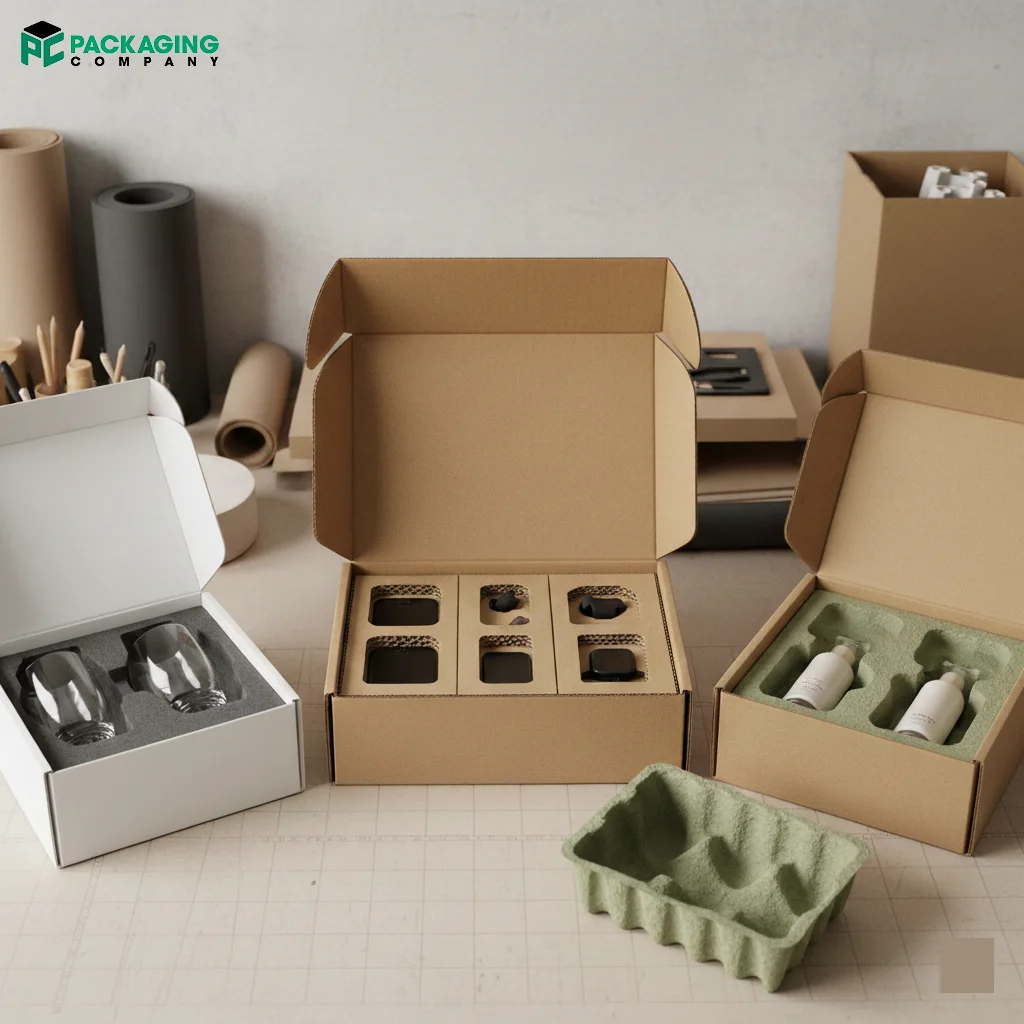
Design boxes and inserts to avoid trapped moisture and to let water escape when exposure happens. Use raised inserts and drainage paths to keep items off wet surfaces and to let air move around the product. Add small drainage holes for items that might see liquid exposure during transit or storage.
Use raised corrugated pads or molded pulp to lift products off the box floor and reduce contact with wet surfaces. Leave 1–2 cm gaps between pallet layers to allow airflow and reduce trapped humidity. Consider custom corrugated boxes wholesale with built-in inserts. They keep items stable and dry. Smart design reduces damage without adding much cost.
- Add drainage holes for liquid exposure risk.
- Use raised inserts or corrugated pads costing $0.02–$0.10 each.
- Leave 1–2 cm gaps between pallet layers for airflow.
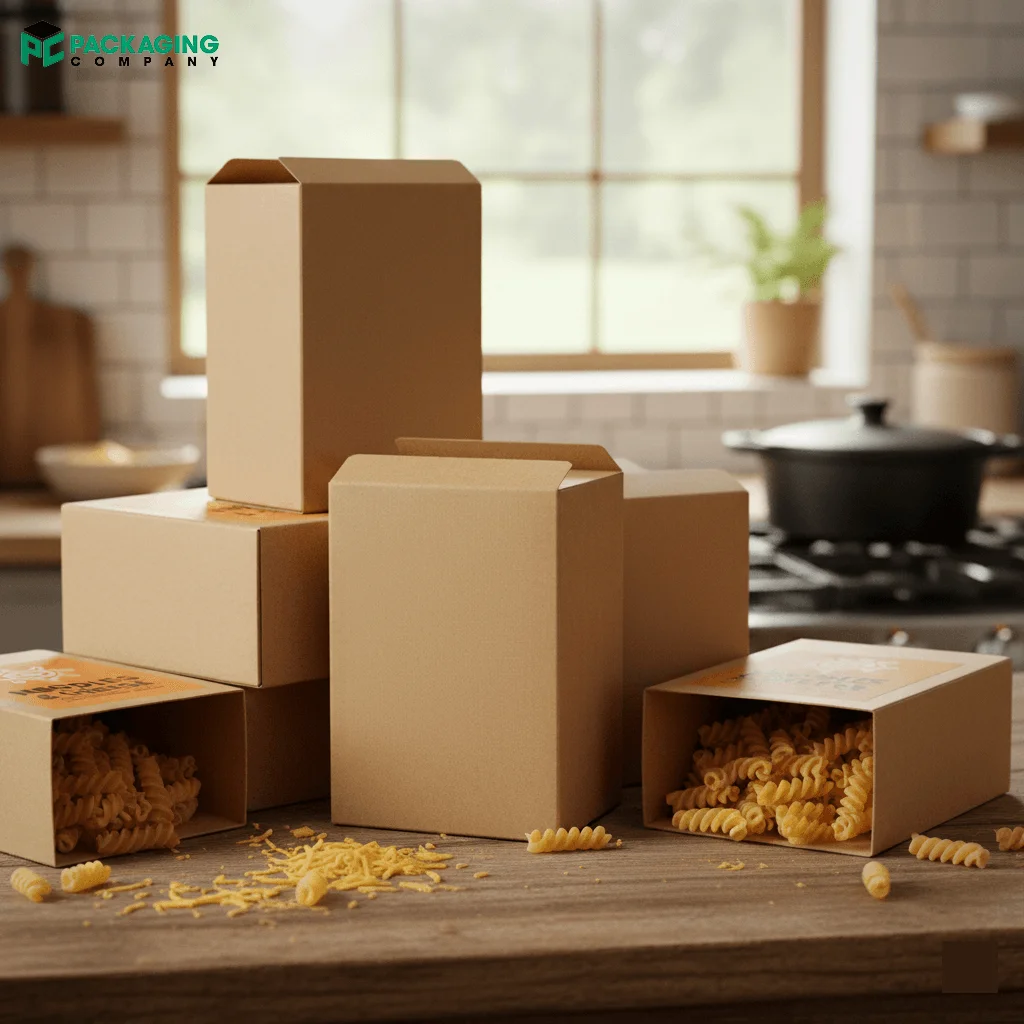
5. Apply low-cost coatings and laminates to corrugated boxes
You can upgrade corrugated boxes with coatings instead of switching to expensive materials. Wax coating costs about $0.01–$0.05 per box and resists light moisture for days. Water-based acrylic coatings improve resistance and keep print quality high. Laminated film wrap costs about $0.03–$0.12 per box and gives a strong barrier.
Use coatings on custom printed cardboard boxes to keep brand look and add protection. Test coated boxes for stacking strength and print clarity before large runs. Coatings let you keep corrugated benefits while adding moisture protection at low cost.
- Wax coating: $0.01–$0.05 per box.
- Water-based acrylic: moderate cost, good printability.
- Laminated film wrap: $0.03–$0.12 per box.
6. Optimize package size and headspace to cut moisture risk
Use molded pulp or custom foam inserts to cushion items, support them and fit the product well in place without air pockets that could seize moisture and let goods shift around. Less headspace reduces the trend for mold and condensate. Reducing headspace by 30 percent can lower internal condensation risk.
Void-fill materials cost about $0.01–$0.10 per unit depending on type. For liquids, leave 1–2 percent headspace to allow safe expansion without pressure. Use Kraft packaging wholesale or rigid boxes wholesale with tailored inserts to get a snug fit and lower moisture pockets. Tight packaging also cuts freight costs by lowering package volume.
- Reduce headspace by 30% to lower condensation risk.
- Void-fill cost: $0.01–$0.10 per unit.
- Liquids: leave 1–2% headspace.
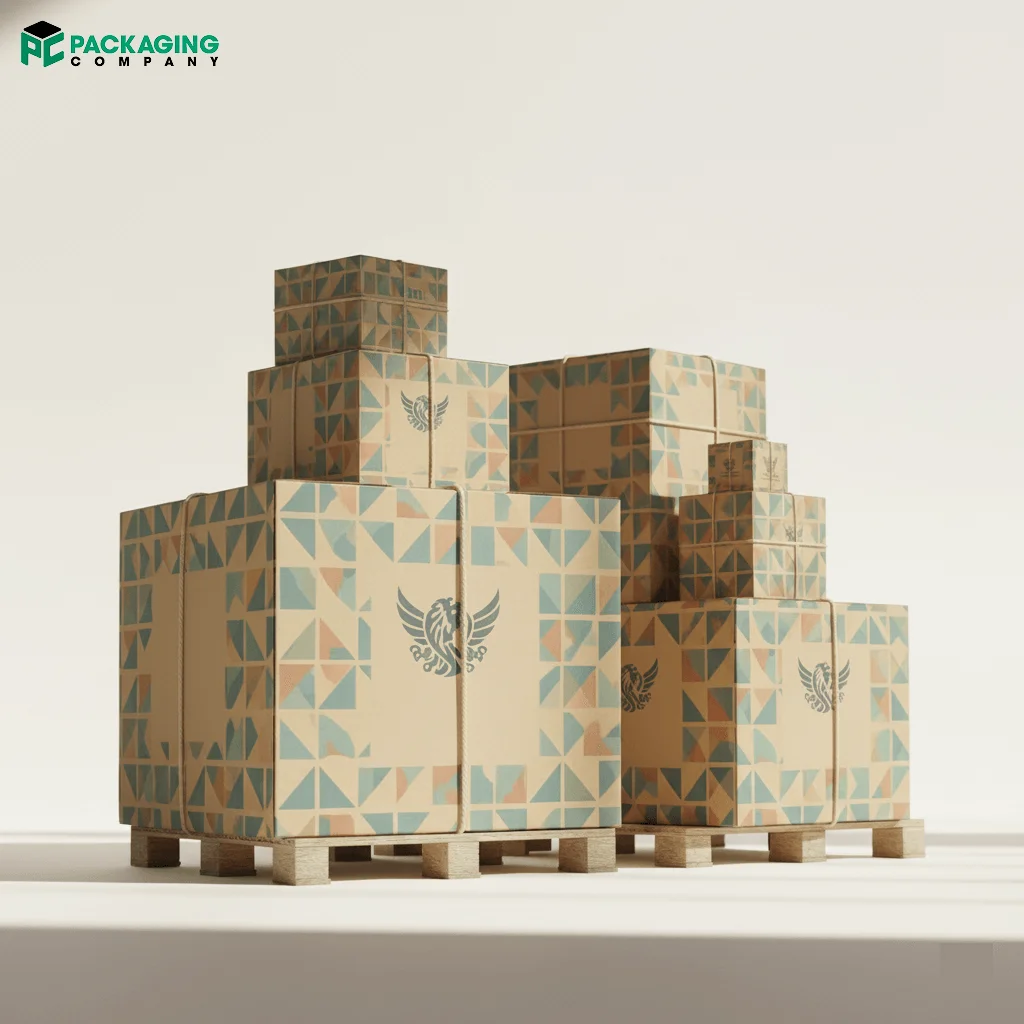
7. Source locally and buy in small bulk to save money
Local suppliers cut transit time and reduce exposure to humidity during shipping, and buying in small bulk lowers unit cost without tying up too much cash. Local lead times often drop by 30–70 percent compared to overseas suppliers. Buying a three-month supply can reduce unit cost by 5–15 percent.
Small converters accept MOQs from about 500–5,000 units, which fits many small brands. Ask local converters for sample runs of custom printed Moisture Proof Packaging boxes and negotiate staggered deliveries to match cash flow. Use local packaging suppliers for moisture control to speed design changes and reduce time in humid transit.
- Local lead times drop 30–70%.
- Three-month supply can cut unit cost 5–15%.
- MOQs often start at 500–5,000 units.
8. Use smart labeling and storage instructions to reduce damage
Clear labels and storage notes cut mishandling and exposure to moisture. Labels cost little and give carriers and warehouse staff the right instructions to keep goods dry. Add “Keep Dry” and “Store < 60% RH” on boxes for clarity. Humidity indicator labels cost about $0.10–$0.50 each and show if a package saw high RH.
Use barcodes and QR codes to link to storage specs and handling steps so staff can follow rules easily. Rotate stock with FIFO to avoid long-term exposure and keep warehouse relative humidity below 60 percent for most goods while aiming for 30–50 percent for electronics. Use humidity indicator cards for shipments to monitor routes and reduce claims.
- Add “Keep Dry” and “Store < 60% RH” labels.
- Humidity indicator labels: $0.10–$0.50 each.
- Aim warehouse RH: 30–60%.
9. Test cheaply: DIY humidity chambers and field checks
You don’t need a lab to test packaging. DIY test setup costs about $20–$100 and uses a sealed plastic bin and a hygrometer that costs $10–$50. Run accelerated tests at 40–60°C for 24–72 hours to speed up aging and reveal weak spots.
Inspect 5–10 percent of outgoing shipments for seal integrity and use humidity indicator cards in a sample of shipments. Field checks and simple tests reduce failure rates by 20–40 percent before you roll out a new package.
- DIY setup: $20–$100.
- Hygrometer: $10–$50.
- Accelerated tests: 24–72 hours at 40–60°C.
10. Balance sustainability and protection for brand value
Recyclable outer boxes with a moisture barrier internal pouch allow you to satisfy two objectives: customers want both protection and environmentally friendly options. Reduce landfill waste and build consumer trust by utilizing kraft boxes and recyclable PE choices. Check local regulations before you choose materials as some barrier films restrict recycling.
Though more expensive, compostable liners attract environmentally aware customers and can raise brand value. Recyclable choices should cost between $0.01 and $0.05 per unit; compostable inserts should cost two to three times more than regular fillers. Measure impact by use of a recyclable outer box with a barrier inner pouch, label materials clearly, and tracking returns and input.
- Recyclable options add $0.01–$0.05 per unit.
- Compostable inserts cost 2–3x standard fillers.
- Label materials clearly to help customers recycle.
Materials Comparison
|
Material |
Moisture Barrier |
Cost per unit (est.) |
Best use |
Recyclable |
|---|---|---|---|---|
|
Metallized film |
High |
$0.05–$0.20 |
Electronics, pharma |
Limited |
|
Polyethylene (PE) |
Medium |
$0.02–$0.10 |
Widely |
|
|
Coated kraft paper |
Medium |
$0.03–$0.12 |
Dry goods |
Often |
|
Vacuum-sealed foil |
Very high |
$0.10–$0.40 |
Long-term storage |
No |
|
Desiccant packs |
N/A |
$0.01–$0.10 |
Inside boxes |
N/A |
Moisture Resistance Packaging Trend Graph
Demand (USD B)
16 ┤ *
15 ┤ *
14 ┤ *
13 ┤ *
12 ┤ *
11 ┤ *
10 ┤ * *
2025 2027 2029 2031 2033 2035
Data: projected US market growth from $10.2B (2025) to $15.6B (2035).
Protect products with Moisture Proof Packaging
Pick one low-cost change and run a short test. Add desiccants, switch to a laminated inner pouch, or try a coated corrugated box for one SKU over 30 days. Measure returns, inspect seals, and track humidity indicators. Use the results to scale the best mix of materials and methods. If you want a simple supplier brief, a cost estimate, or a test plan for custom Moisture Proof Packaging, the Packaging Company can serve you well.
FAQs
What is Moisture Proof Packaging and when do I need it?
It prevents water vapor and liquid from reaching equipment likely to corrode, mold or become matted when wet. Not just valuables, it also works for anything that loses value when wet: electronics, pharmaceuticals, food. Select the barrier level according to storage condition, travel duration.
How do I test packaging without a lab?
- Use a damp sponge to construct a sealed bin increasing RH.
- To record humidity, use a digital hygrometer costing $10 to $50.
- To speed aging, run tests for 24 to 72 hours at 40 to 60 degrees C. Early failures caught by a DIY setup cost around $20–$100..
What materials work best for moisture protection?
All of metallized film, polyethylene, coated kraft, and foil are effective. At around $0.05–$0.20 per unit, metallized film provides a strong barrier; PE pouches cost around $0.02–$0.10 per unit. Match shelf life and product risk in material.
How much do desiccants cost and how much moisture do they absorb?
- Silica gel absorbs up to 40% of its weight and costs $0.01–$0.10 per pack.
- Clay desiccant: 15–25% absorption; less expensive.
- As a basic guideline, utilize 1–3 g per liter of package volume.
How can I make corrugated boxes moisture resistant cheaply?
- Wax coating: $0.01 to $0.05 per box.
- Moderately expensive and simple to print water-based acrylic.
- Laminated film wrap costs $0.03–$0.12 per box. Add temporary moisture resistance on bespoke corrugated boxes wholesale with coatings.